
Step 2: Upload dataset
Upload a dataset for training. Before uploading the dataset, the dataset validation must be done to verify if the dataset is in the right format.
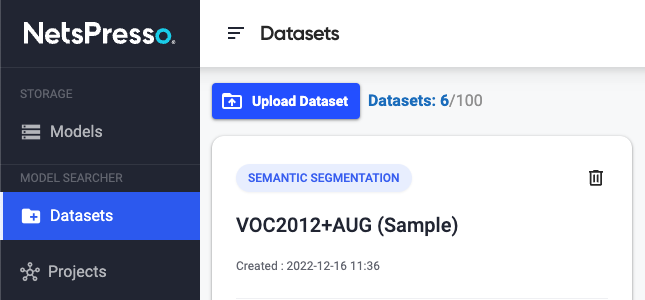
1. Go to Upload Dataset page
Click the Upload Dataset button on Datasets page.
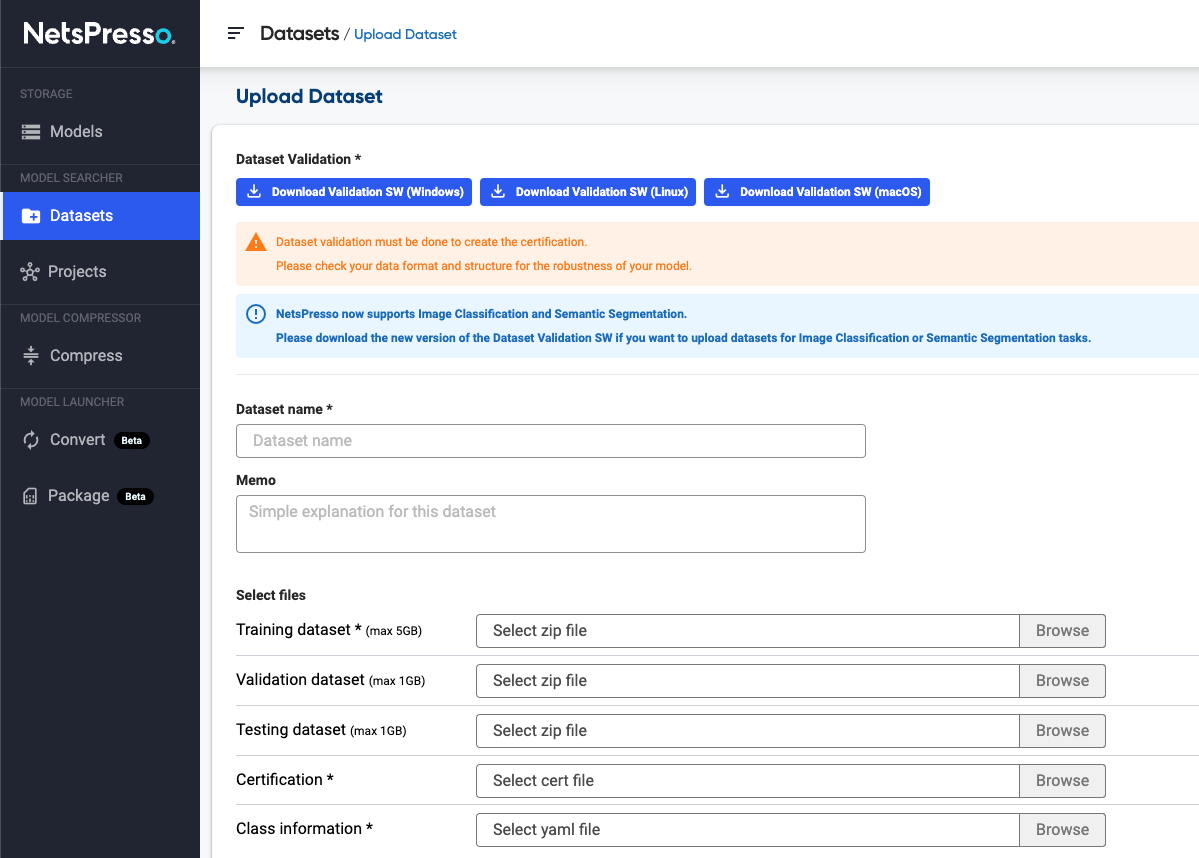
2. Download dataset validation software
Download Dataset Validation SW at the Upload Dataset page.
NetsPresso provides packaged SW for Windows and macOS.

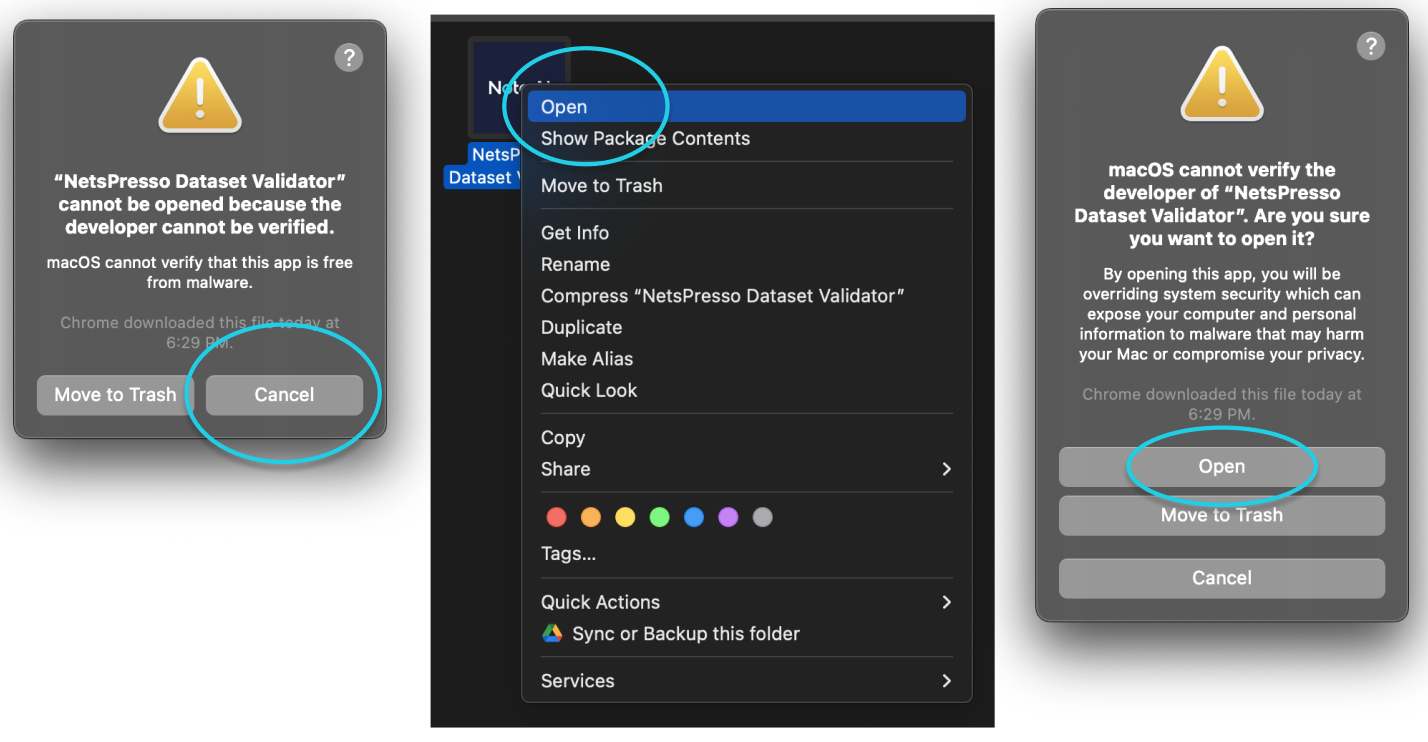
Open the validator on macOS
If you try to open the validator on macOS, you may get a warning dialog. This is not an error, just a dialog that appears when you try to open an app that is not registered with Apple. (Open a Mac app from an unidentified developer)
Follow these steps to open the app.
3. Validate the dataset and get the certification
Select training, validation, testing dataset folder path.
Then, select output directory to get validated files.
Click ‘run’ to start dataset validation.
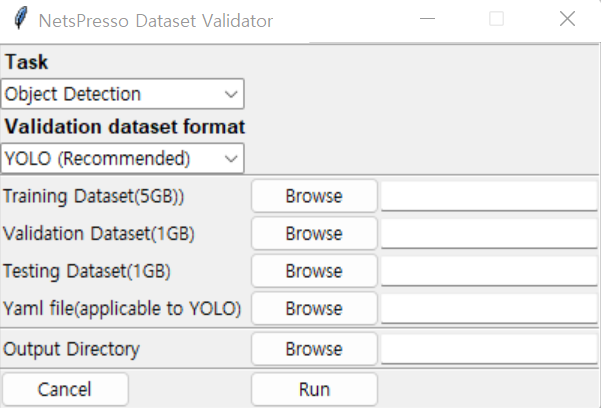
If validation is completed, 5 files will be created at the selected output path.
- train.zip, val.zip, test.zip, certification.np, data.yaml
- certification.np contains certification and file information which created together.
- Make sure that the files are not changed. If any file changes, the certification will not work and may not enable you to upload dataset to NetsPresso.
4. Upload dataset
When the dataset is ready, enter the required fields and upload the dataset files, certification, and class information files created by Dataset Validation SW.
Click the Start upload button.
5. Check the uploaded dataset.
The uploaded dataset is displayed on the Datasets page.
You can check detailed information by clicking the See Details button.
Now, you can start training a model with the dataset by clicking Create a New Project.

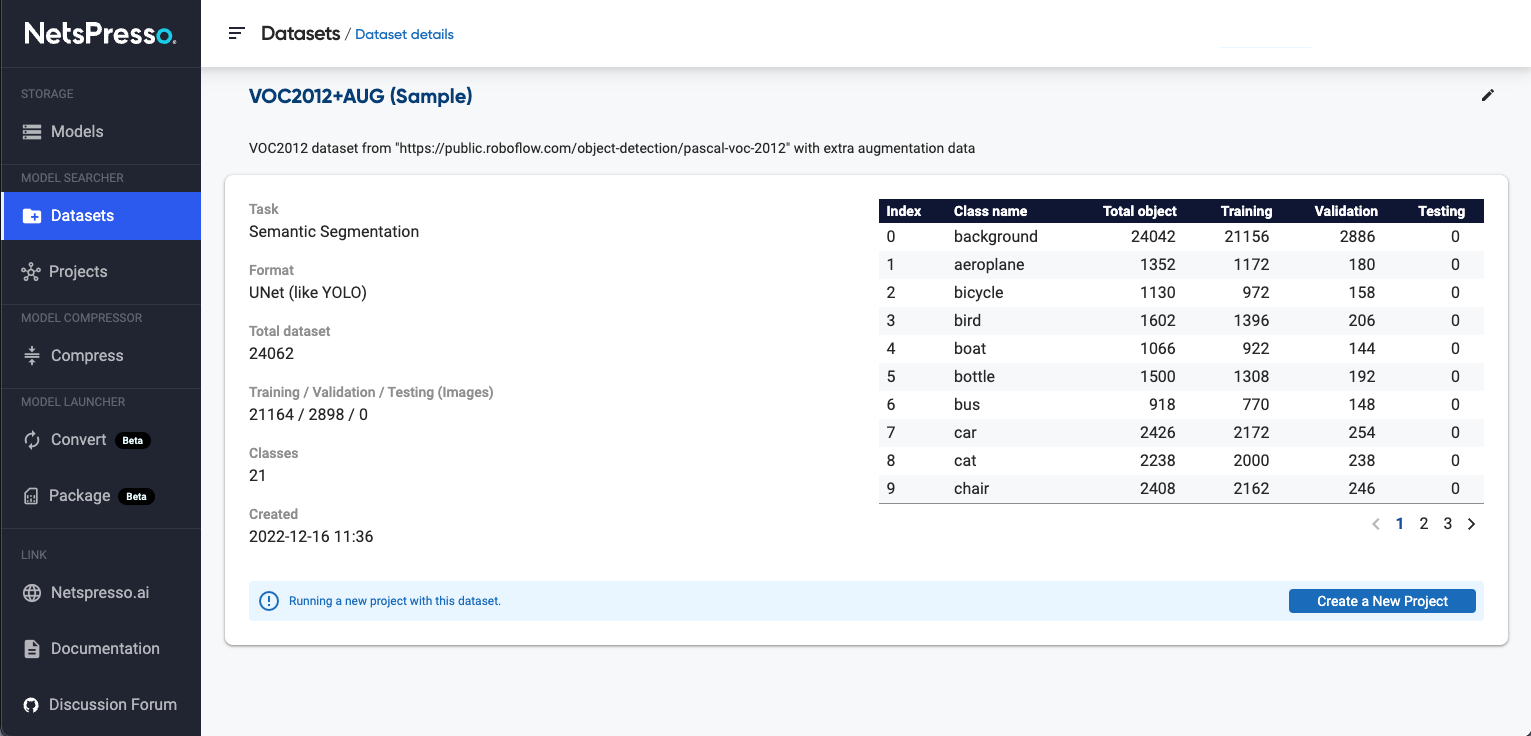
6. Check dataset details
You can check the task, format, and class information of the dataset on the Dataset Details page.
You can start training a model with the dataset by clicking Create a New Project.
Updated 19 days ago