
Tutorial 1: Compression Workflow
This section introduces an example of utilizing the Compression workflow, one of the NetsPresso workflows, through the GUI.

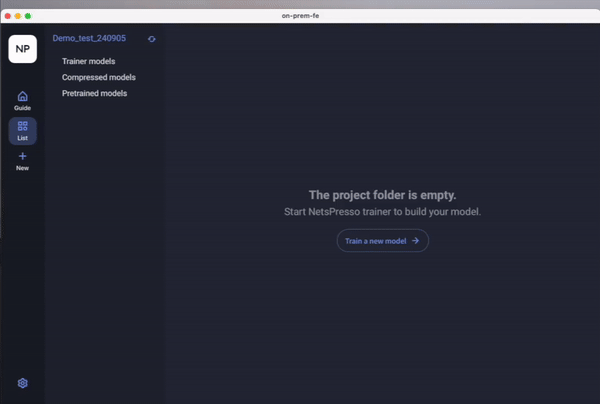
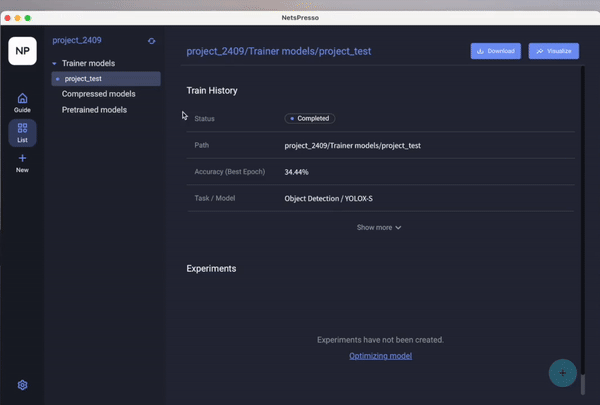
Train
To train the model, set the Output Model Name, Task, and Model:
- Select a sample dataset that matches the configured Task and Model, then click the Run button to start the training process.
- Choose the training model and dataset, and configure the training settings.
- The training settings window will close, and the training status will be updated.
- Once the training is complete, the status will change to "completed."
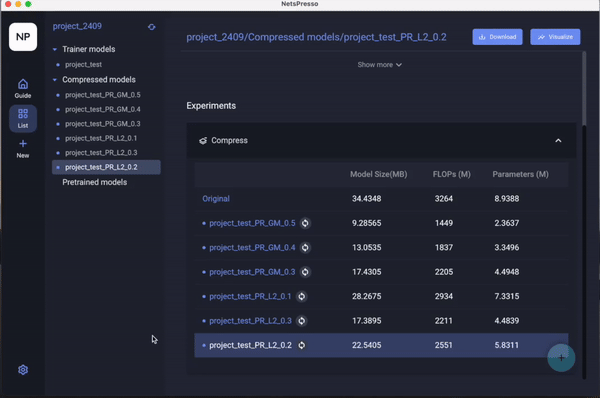
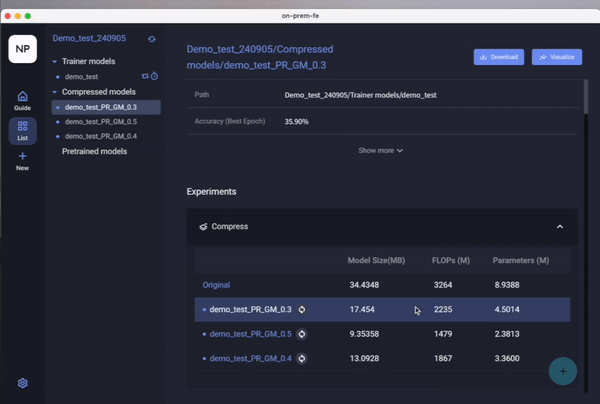
Compress
- Select one of the trained models and click the (+) button to enter the Compression options.
- After selecting your desired options, execute the compression.
- Click refresh to check the compression results.
- You can also review the results for various compression ratios through Visualization.
Retrain
- Choose an appropriate model from the compressed models and initiate retraining.
- Input the training configuration values for the selected model.
- Execute the retraining and review the results.
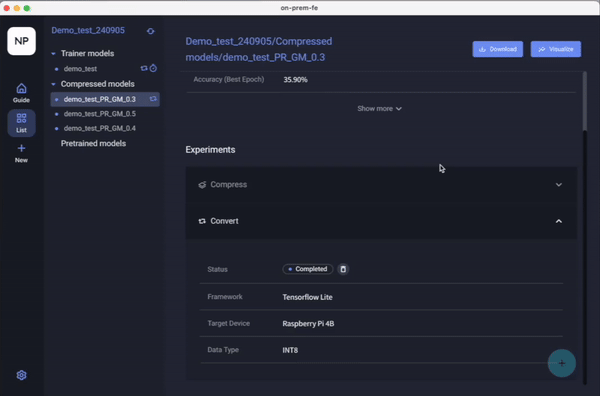
Convert
- Click the Convert option to transform the model into an optimized framework suitable for the target device.
- Select the Target Device and verify the values.
Benchmark
- Identify the Target Device on which you want to measure latency and check the results.
Updated 12 months ago