
Step 2: Upload local dataset info
By connecting the Personal Server, you can train models in a local environment without exporting the dataset. This page explains the process of validating a local dataset and uploading the validation results to NetsPresso.
1. Connect Personal Server
To use a local dataset, your training server needs to be connected to NetsPresso. NetsPresso refers to this setup as a "Personal Server." Refer to this document to connect a Personal Server.
2. Validate dataset
The dataset you intend to use for model training should reside on the Personal Server.
Please refer to the GitHub repository to validate the dataset.
If the validation is successful, the following two result files will be generated:
- certification.np
- data.yaml
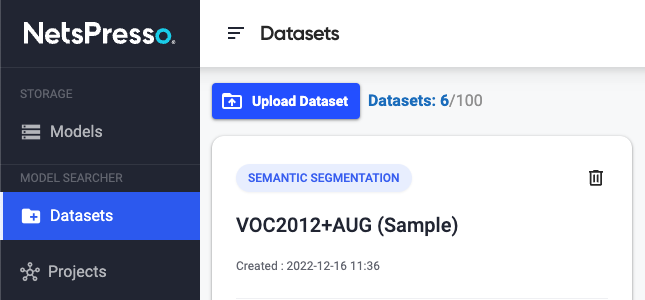
3. Go to Upload Dataset page
Click the Upload Dataset button on Datasets page.
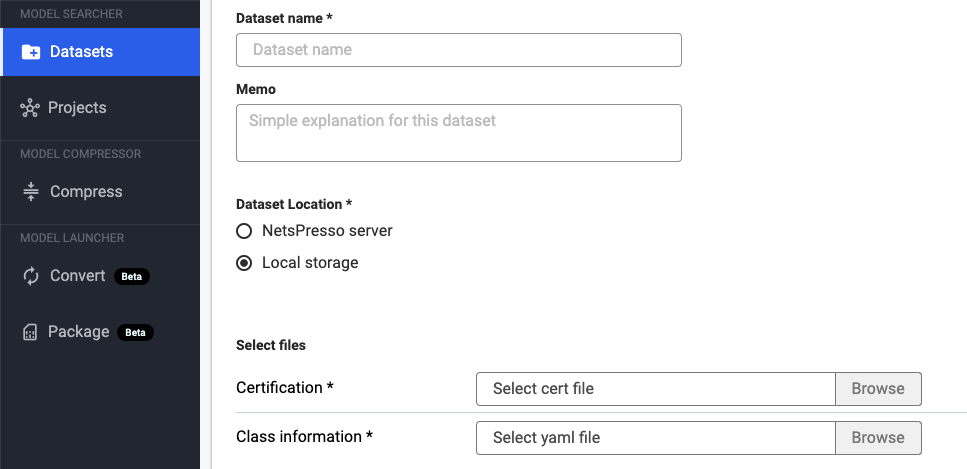
4. Upload the validation result files
Enter the required items and upload the certificate and class information files that are the result of Dataset Validation.
Click the Start upload button.
5. Check the uploaded dataset.
The uploaded dataset is displayed on the Datasets page.
You can check detailed information by clicking the See Details button.
Now, you can start training a model with the dataset by clicking Create a New Project.

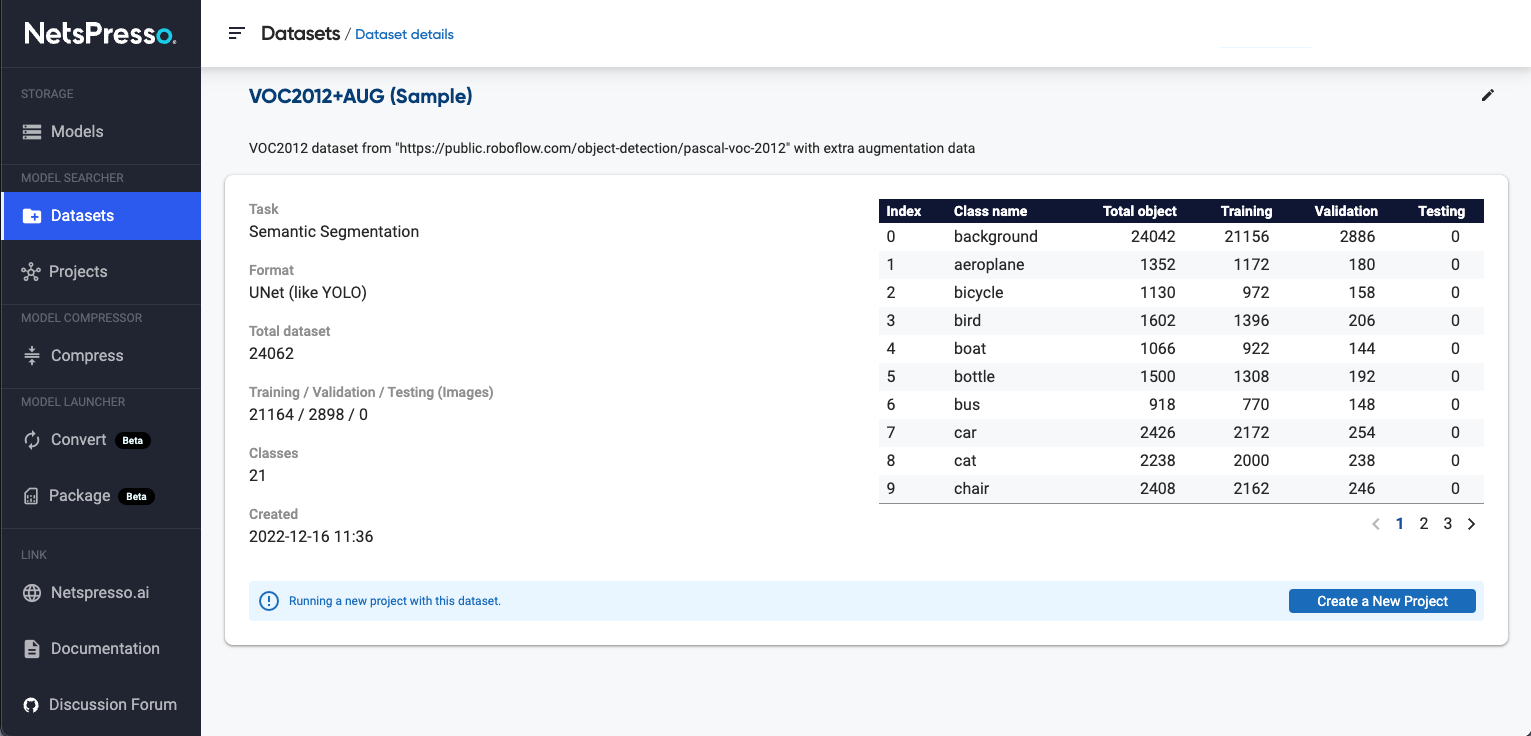
6. Check dataset details
You can check the task, format, and class information of the dataset on the Dataset Details page.
You can start training a model with the dataset by clicking Create a New Project.
Updated 16 days ago