
Step 2: Upload model
Upload a model for compression.
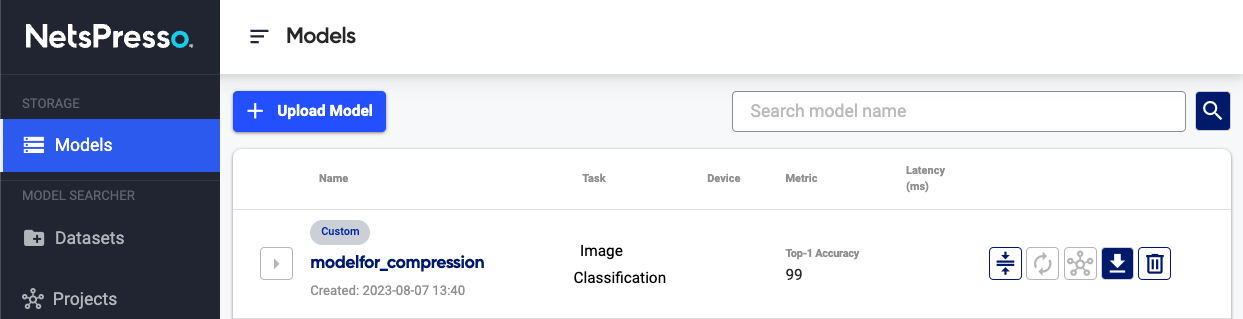
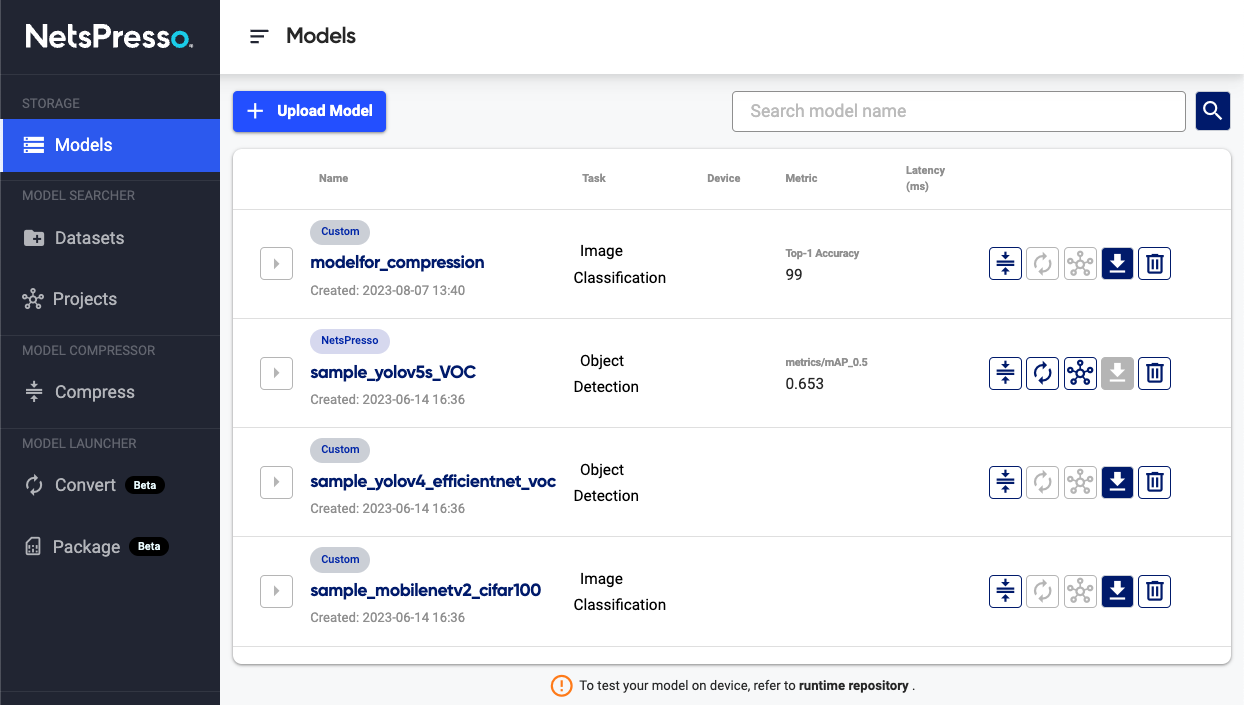
1. Go to Upload Model page
Click the Upload Model button on Models page.1
2. Enter model information and upload model
Enter the required information and upload your model.
You can also enter evaluation metric and value (optional) if you want to easily compare the performance of the uploaded model with others.
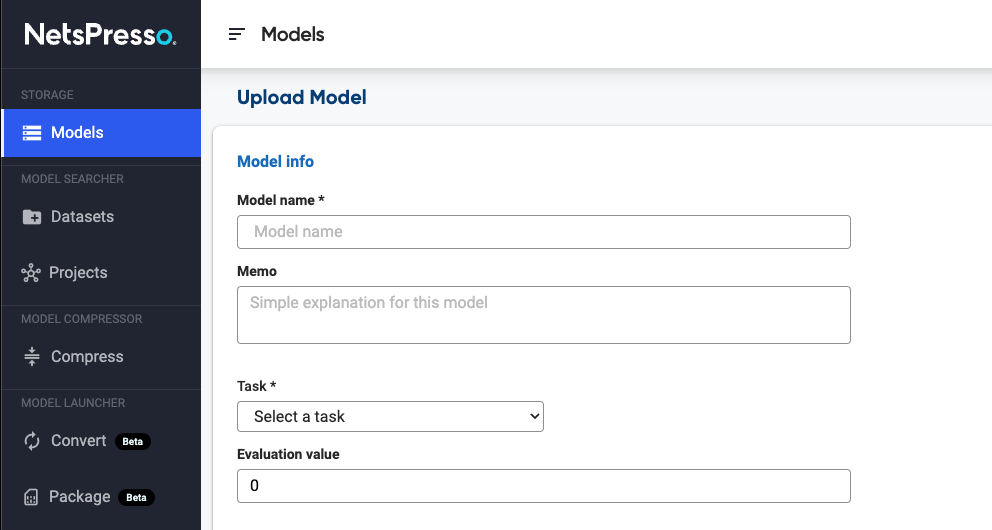
PyTorch models should be converted into GraphModule (.pt) or ONNX (.onnx) format. How-to-guide for the conversion.
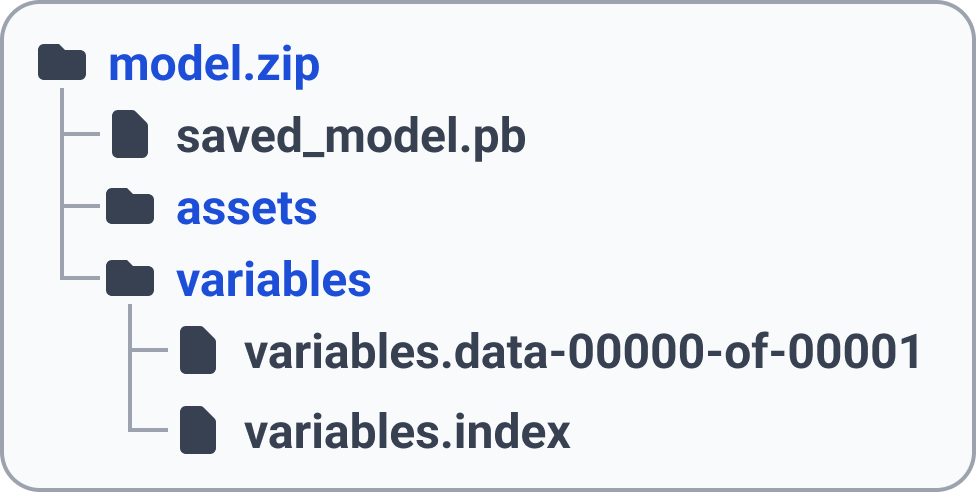
TensorFlow-Keras models can be uploaded with both Keras H5 format (.h5) and TensorFlow SavedModel format (.zip). If there is a custom layer in the model, please upload with TensorFlow SavedModel format (.zip).
For input shape, use the same values that you used to train the model.
- ONNX, PyTorch models: Channels first format is supported (batch, channel, dimension)
- TensorFlow-Keras models: Channels last format is supported (batch, dimension, channel)
- Channel: 3 for RGB images, 1 for gray images.
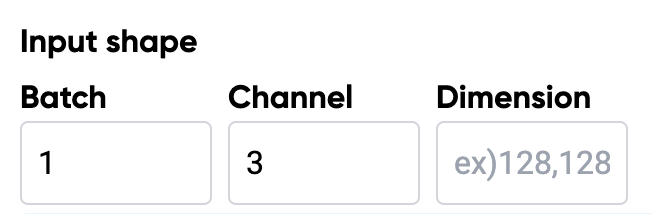
For example, width=1024, height=768 RGB images and the batch size is 1 with channel first format.

3. Check the uploaded model
If the model has been uploaded successfully, you can find the model with the Custom badge.
Updated 15 days ago