Step 3: Compress model (Advanced Compression)
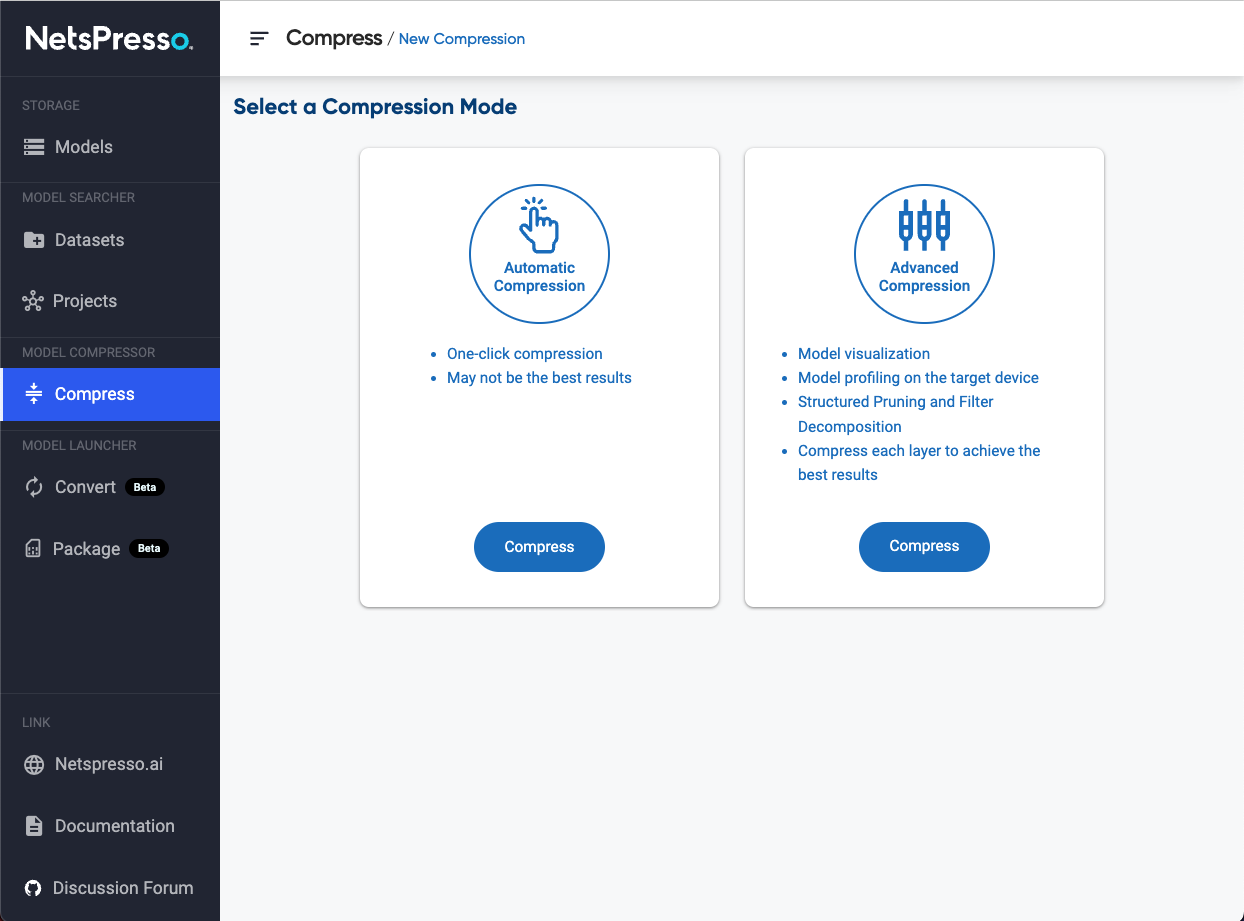
NetsPresso provides two compression modes.
- Automatic Compression: Automatically compress the model with one click.
- Advanced Compression: You can choose the compression method and compress each layer to achieve the best result.
This page describes Advanced compression.
1. Go to Compress page
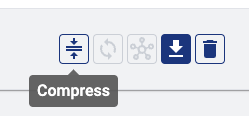
Click the Compress button on Models page.


2. Select a Compression Mode
Select Advanced Compression.

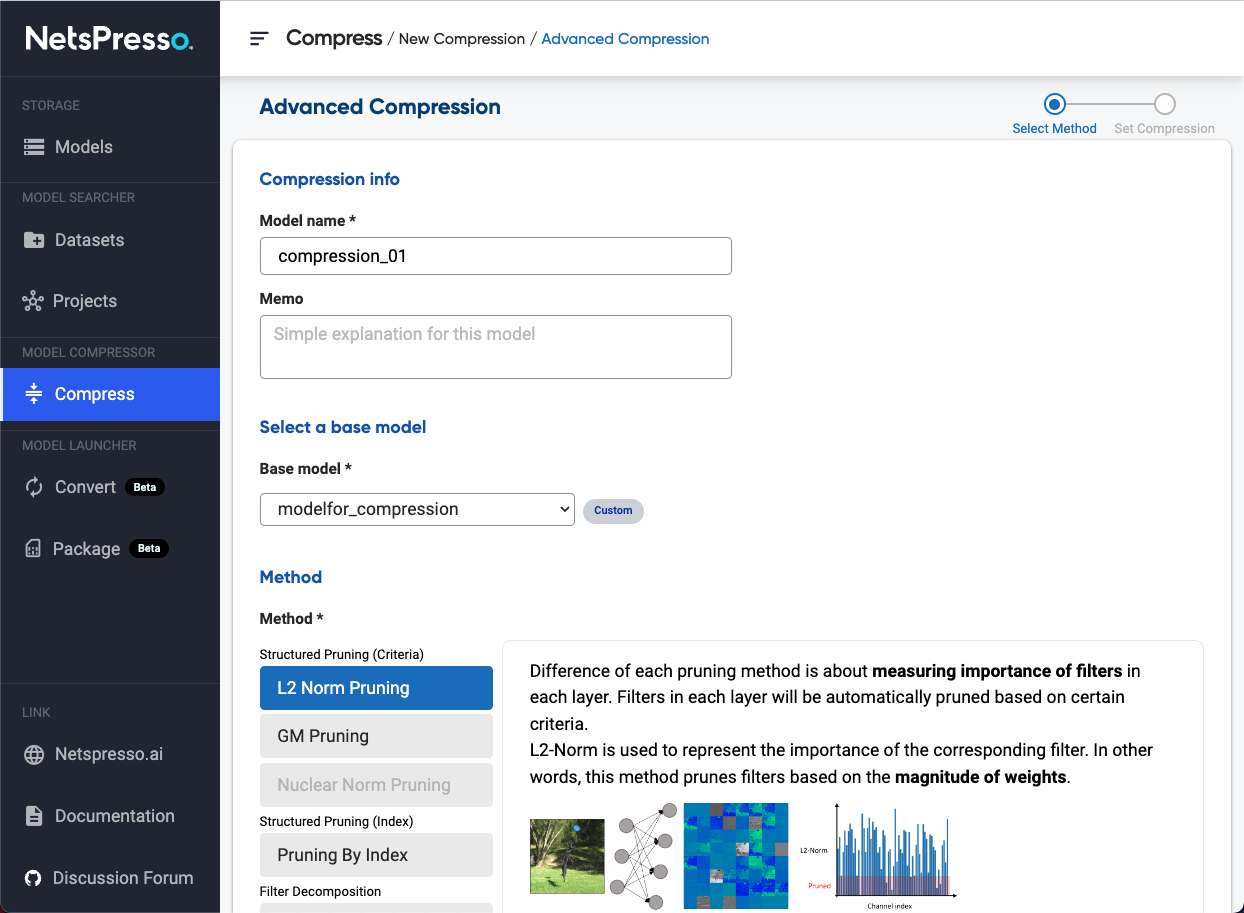
3. Select a model and a method
Model Compressor supports two compression methods: Structured Pruning and Filter Decomposition.
The difference is about how to measure importance of filters or approximate filters in each layer.
Enter the name and memo for the compressed model. Then select a model to be compressed and a compression method.

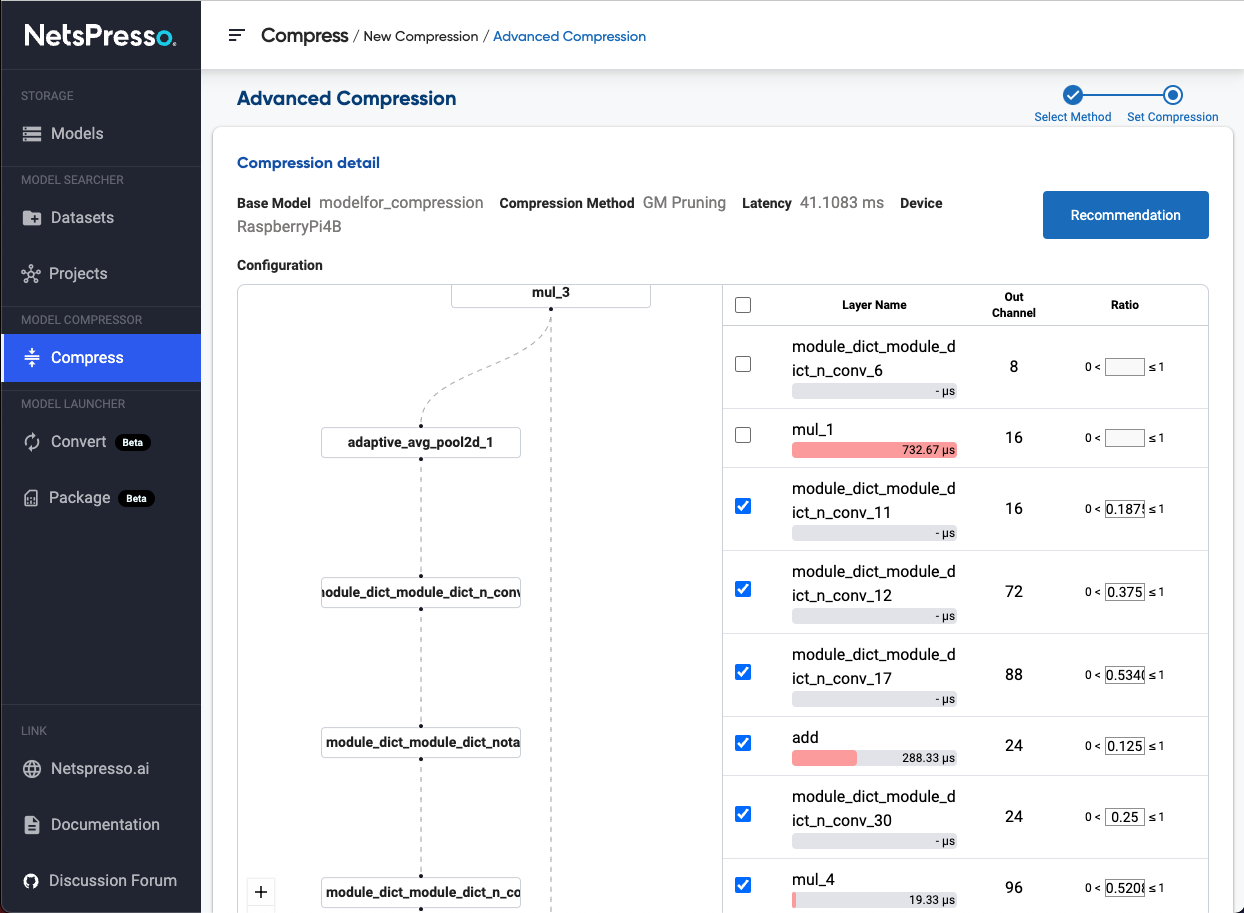
4. See the model profile and compress
Check the model graph and the latency of each layer.
Latency of the model as well as each layers on Raspberry Pi 4B is automatically measured (latency profile may not measured If the model is too heavy to deploy on Raspberry Pi 4B).
Based on the model structure and latency profile, set compression ratio for each layers.
You can also use recommendation to set appropriate compression ratios automatically for the starting point.
After setting the compression configurations, click Compress button.

Updated 20 days ago
